Integrating Documentation Tools
|
October 17, 2025
|
Create a Graphic Organizer in Word: Step-by-Step Guide
Overview
You might be wondering how to create graphic organizers in Microsoft Word. Well, this article is here to help! It’s a friendly step-by-step guide that highlights how these organizers can visually structure your information.
We’ll explore various tools in Word, like SmartArt and shapes, and I’ll share some tips on jazzing them up with colors and images to boost clarity and retention. Plus, you’ll see how these organizers can be practically applied for effective documentation.
So, let’s dive into the world of graphic organizers together!
Key Highlights:
- Graphic organisers are visual tools that help structure information for better understanding and analysis.
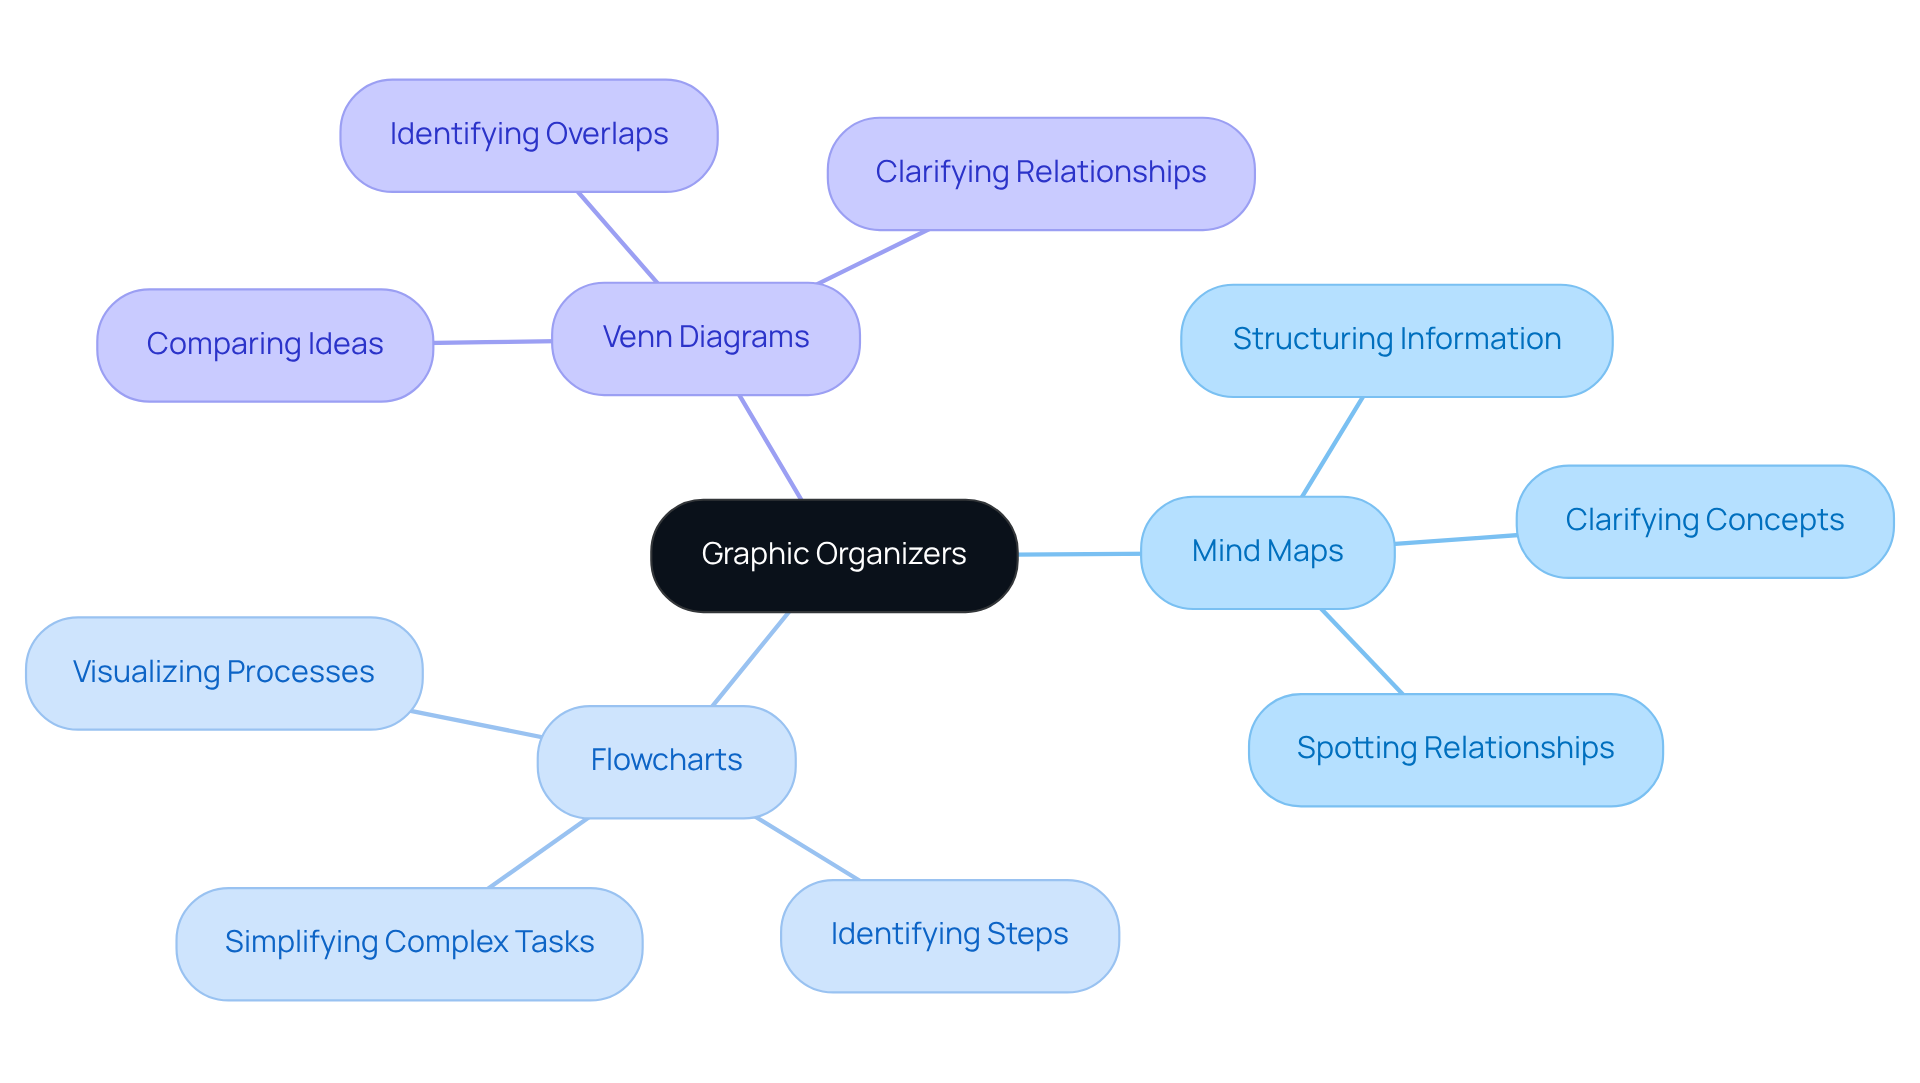
- Common types of graphic organisers include mind maps, flowcharts, and Venn diagrams.
- Using graphic organisers can clarify complex concepts, reveal relationships between ideas, and enhance comprehension.
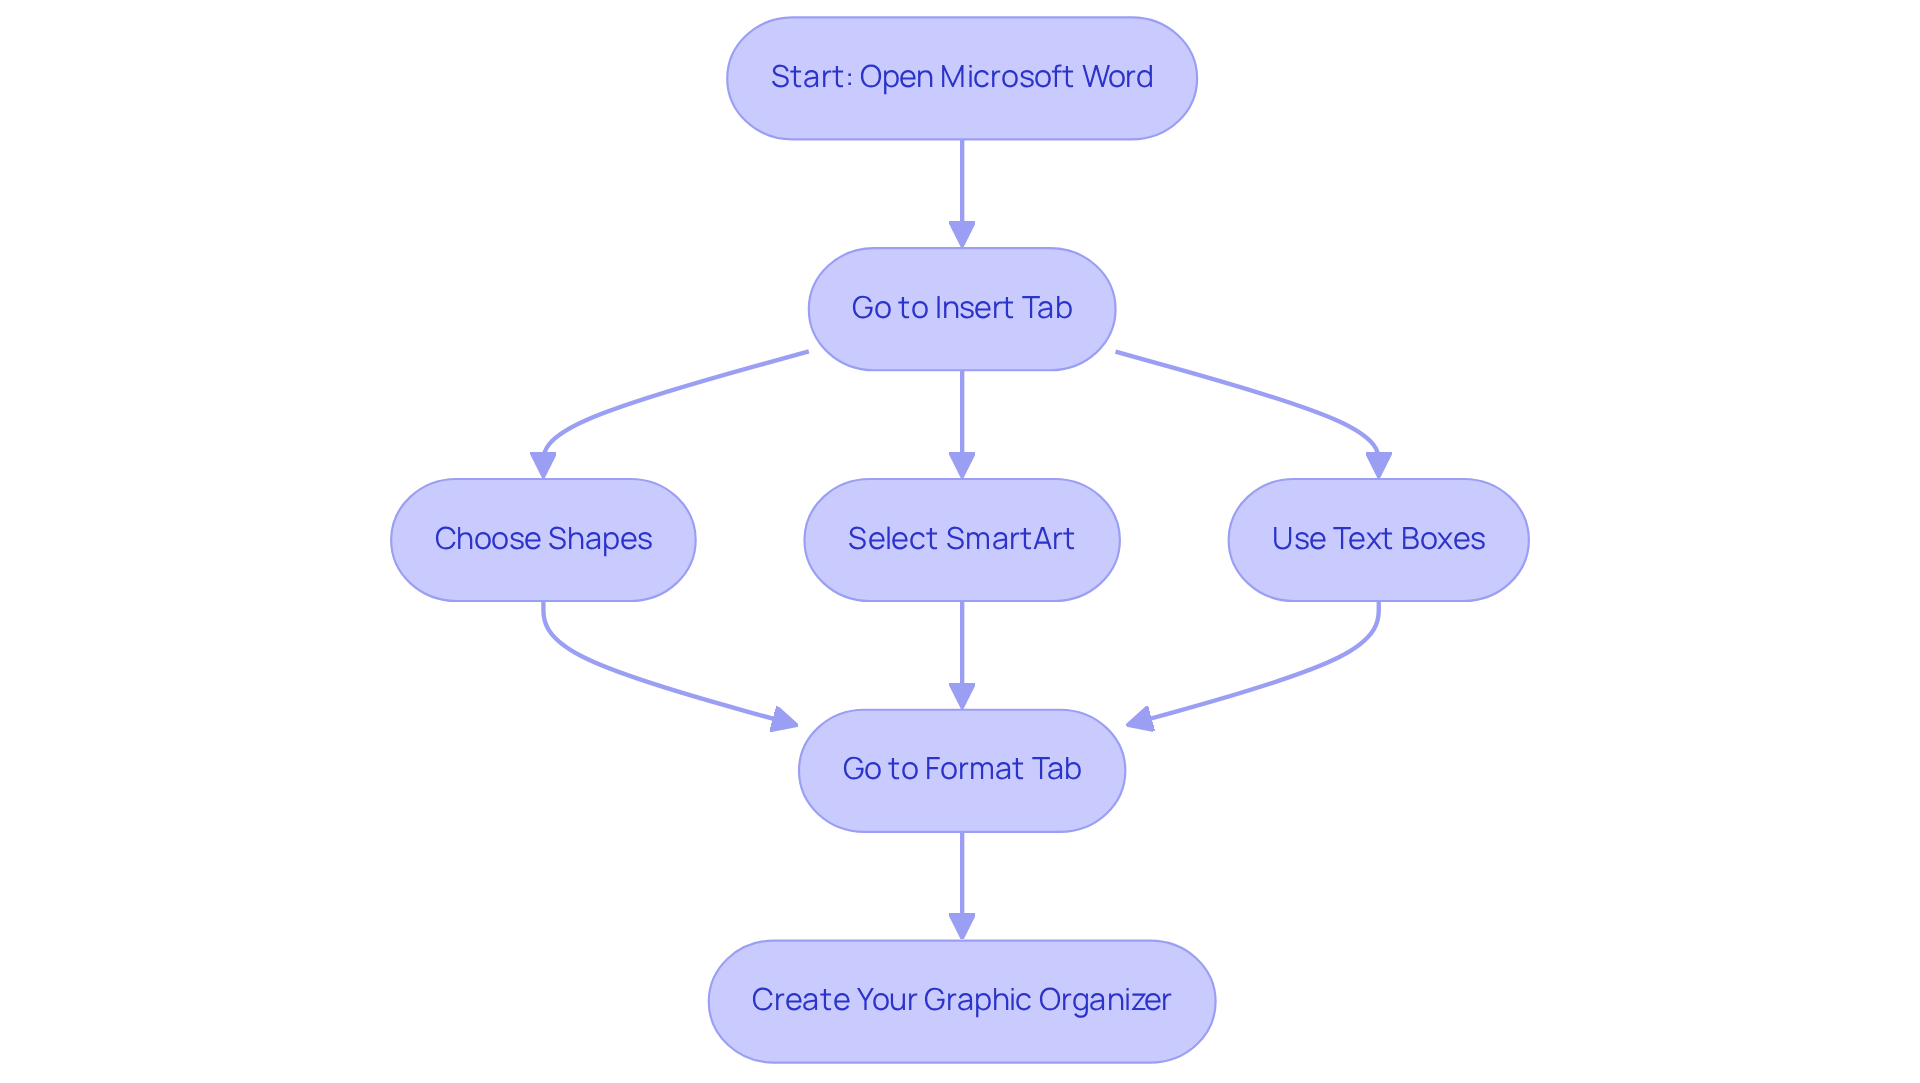
- In Microsoft Word, graphic organisers can be created using the 'Insert' tab, which offers shapes, SmartArt, and text boxes.
- SmartArt provides pre-designed layouts that simplify the creation of graphic organisers.
- The 'Design' tab allows customization of colours and fonts to improve readability.
- Adding images or icons can enhance memory retention and visual appeal.
- Regularly updating graphic organisers ensures they remain relevant and useful.
Introduction
You might be wondering how crafting a graphic organizer can really change the way information is structured and understood. Well, it turns out that this simple tool can be invaluable for both students and professionals! In this guide, we’ll walk you through the step-by-step process of creating effective graphic organizers in Microsoft Word. By the end, you’ll be empowered to enhance your documentation and communication skills. But what’s the secret sauce for designing a graphic organizer that’s not only visually appealing but also functional, capturing and conveying those complex ideas? Let’s dive in!
Understand the Purpose of Graphic Organizers
You might be wondering what graphic tools are all about. Well, they’re visual representations that help you structure information, making it easier to understand and analyze. These tools come in different shapes and sizes—think mind maps, flowcharts, and Venn diagrams. By using these visual aids, you can clarify complex concepts, spot relationships between ideas, and boost your overall comprehension.
Now, let’s dive into why this is especially handy in documentation, where clear communication is key. Understanding the purpose of these tools can really help you create effective structures tailored to your needs, whether you’re brainstorming, planning, or summarizing information. So, why not give them a try? You might just find they make your documentation challenges a whole lot easier!

Identify Tools and Features in Microsoft Word
You might be wondering how to create a graphic organizer in Word as a visual aid. Well, let’s dive into it! First things first, to understand how to create a graphic organizer in Word, head over to the 'Insert' tab. That’s where you’ll discover a treasure trove of options like shapes, SmartArt, text boxes, and learn how to create a graphic organizer in Word. Shapes are your best friends for crafting custom diagrams, and learning how to create a graphic organizer in Word can also be simplified with SmartArt's handy pre-designed layouts for various visuals.
Now, speaking of making things pretty, don’t forget about the 'Format' tab! This is where you can jazz up your visuals with different colors, styles, and layouts. Trust me, understanding these tools will make your creation process not just smoother, but a whole lot more fun. So, go ahead and explore—your visual masterpiece awaits!

Follow Step-by-Step Instructions to Create Your Graphic Organizer
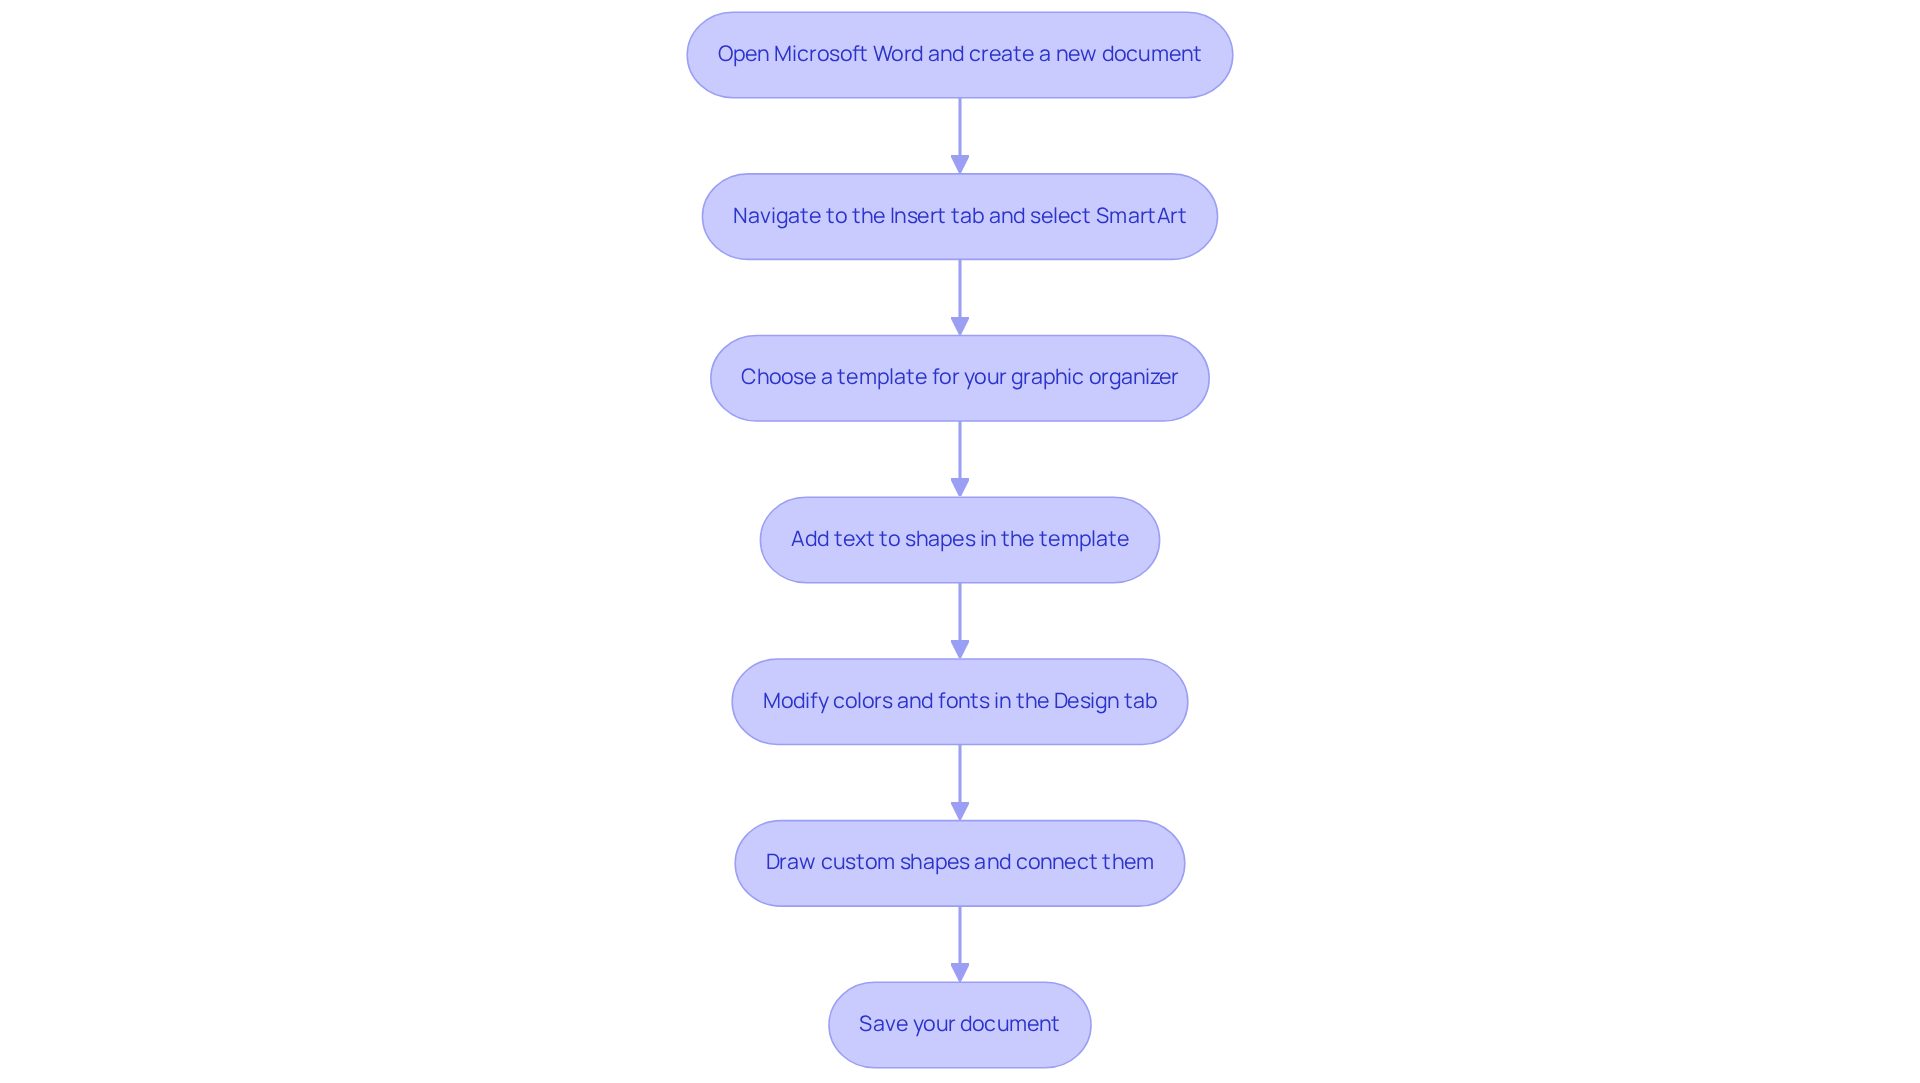
- So, you’re ready to get started with Microsoft Word? First things first, open it up and create a new document.
- You might be wondering how to spice things up a bit. Navigate to the 'Insert' tab and select 'SmartArt' to understand how to create a graphic organizer in Word by choosing a template that fits your needs—think hierarchy or cycle. And guess what? With SowFlow, you can access customized user guides that provide specific templates for different requirements, making your creation process a breeze.
- Once you’ve got your template in place, click on the shapes to add your text. Make sure to tailor the content to represent what you want to arrange, keeping your documentation fresh and relevant with SowFlow's easy editing tools.
- Now, let’s dive into the 'Design' tab to explore how to create a graphic organizer in Word. You can modify colors and fonts to boost readability, making it easier for your team to grasp the information.
- If you’re feeling creative and want a custom design, head over to the 'Shapes' option in the 'Insert' tab. You can draw your shapes and connect them with lines or arrows to show relationships. Plus, SowFlow's instant record-keeping solution makes quick adjustments a snap, giving you design flexibility.
- Don’t forget to add text boxes as needed to provide extra details or context. This flexibility really supports effective knowledge sharing within your team, thanks to SowFlow's user-friendly interface.
- Finally, save your document to keep your visual layout intact for future use. With SowFlow's features, you can ensure your documentation remains structured and easy to access.

Explore Tips and Resources for Enhancing Your Graphic Organizer
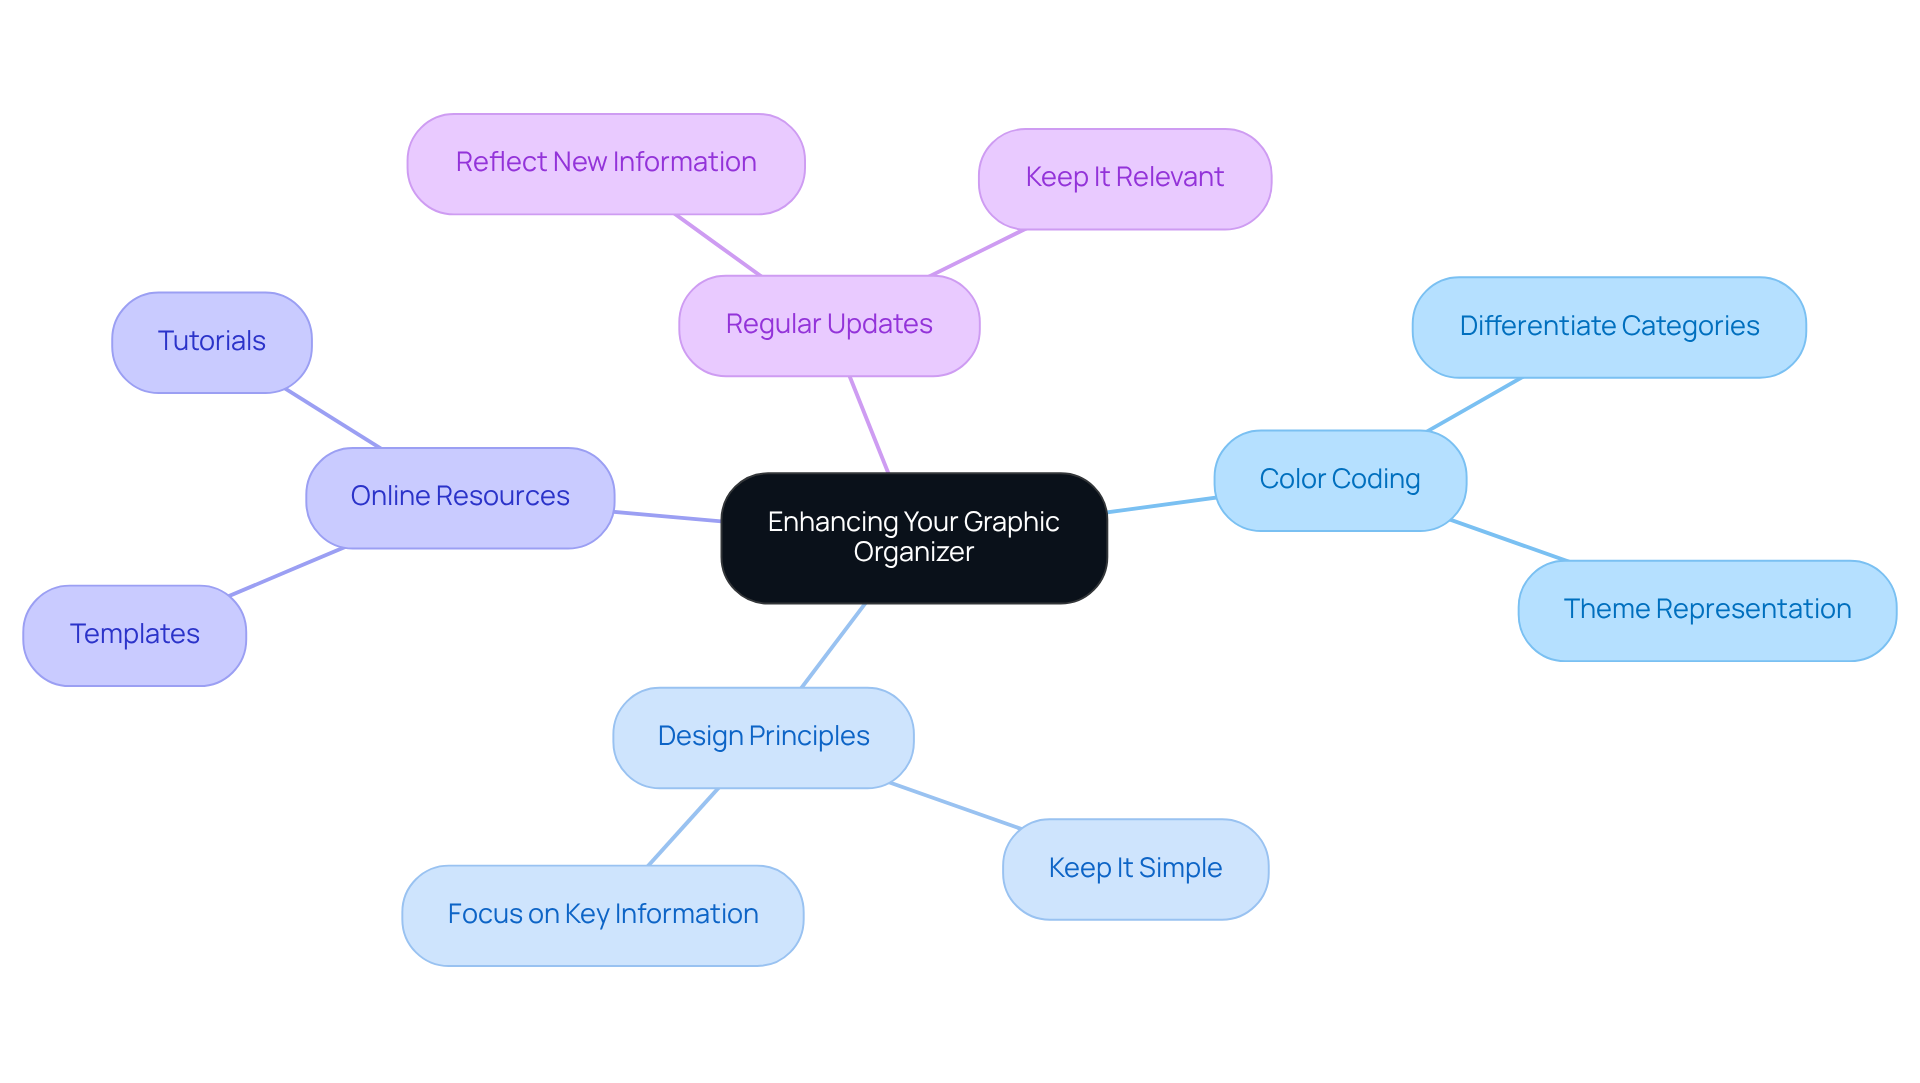
To enhance your graphic organizer, you might be wondering what tips could make a real difference. First off, think about using color coding! It’s a fantastic way to differentiate between categories or themes, making it super easy for viewers to grasp the information at a glance. Plus, incorporating images or icons can visually represent concepts, which really helps with memory retention.
Now, let’s talk design. Keeping it straightforward and tidy is key; too many details can overwhelm the viewer. You want them to focus on the important stuff, right? And don’t forget about the wealth of online resources out there! Templates and tutorials can really inspire your designs and help you sharpen your skills.
Finally, remember to regularly update your graphic organizer. Reflecting new information or changes in your processes keeps it relevant and useful for your documentation needs. So, what do you think? Ready to revamp your organizer and make it work for you?

Conclusion
Creating a graphic organizer in Microsoft Word isn’t just about making things look nice; it’s a fantastic way to boost your understanding and communication! You might be wondering how visual tools like mind maps, flowcharts, and Venn diagrams can help. Well, they can really help you structure information and make those tricky concepts a lot easier to grasp. This article has given you a solid guide on how to use Word's features to create custom graphic organizers that fit your specific needs.
Now, let’s talk about the step-by-step instructions that highlighted the essential tools in Microsoft Word. You’ve got the 'Insert' tab, SmartArt, and various shapes at your disposal, which means you can really let your creativity shine! Plus, we explored some key tips for jazzing up these visual aids, like color coding and using images, all while keeping clarity and simplicity in mind. And remember, updating these organizers regularly keeps them fresh and useful, which is great for sharing knowledge effectively.
Incorporating graphic organizers into your documentation practices can seriously enhance your learning and retention. So, why not embrace these techniques? You and your team can completely transform how you manage information. The journey to mastering graphic organizers in Word is just getting started—dive into those tools, apply what you’ve learned, and unlock the power of visual communication in your work!
Frequently Asked Questions
What are graphic organizers?
Graphic organizers are visual representations that help structure information, making it easier to understand and analyze. They include tools like mind maps, flowcharts, and Venn diagrams.
How do graphic organizers improve comprehension?
By using graphic organizers, you can clarify complex concepts, spot relationships between ideas, and enhance your overall understanding of the material.
In what contexts are graphic organizers particularly useful?
Graphic organizers are especially handy in documentation, where clear communication is essential. They can help in brainstorming, planning, and summarizing information.
Why should I consider using graphic organizers?
Using graphic organizers can simplify documentation challenges and help create effective structures tailored to your specific needs.
👍
What others are liking
5 Steps to outline your ideal documentation structure
5 MINS READ
Where to start the your journey of mapping out your ideal documentation structure, aligning it with the very heartbeat of your organization?
Defining a winning level of detail in your process
3 MINS READ
What is too much detail, and what is too little? This article described in that winning level detail about what detail is enough.


