
Key Highlights
- Screen recording captures video footage of computer or mobile screens, often including audio narration for tutorials and presentations.
- The display capture software market is projected to grow to $10.92 billion by 2025, driven by online education and digital content creation.
- Popular screen recording tools include OBS Studio, Camtasia, and user-friendly options like Loom.
- Key setup steps include choosing software, installing it, configuring settings (resolution, frame rate, audio), and testing the setup.
- During recording, prepare content, close unnecessary applications, monitor the capture, and stop the recording when finished.
- Editing involves importing recordings, trimming content, adding annotations, and exporting in formats like MP4.
- Common troubleshooting tips include checking permissions, refreshing programmes, freeing up resources, testing audio levels, and restarting devices.
- Security concerns exist with screen recordings, necessitating careful management of sensitive information.
Introduction
You might be wondering how mastering the art of screen recording has become such an essential skill in today’s digital landscape, where visual communication is key.
As the demand for engaging online content keeps climbing, getting to grips with screen monitor recorders can really open up new doors for creating informative tutorials, dynamic presentations, and impactful demonstrations.
But with so many software options and technical settings out there, how do you ensure a seamless recording experience that truly captivates your viewers?
Let’s explore this together!
Understand Screen Recording Basics
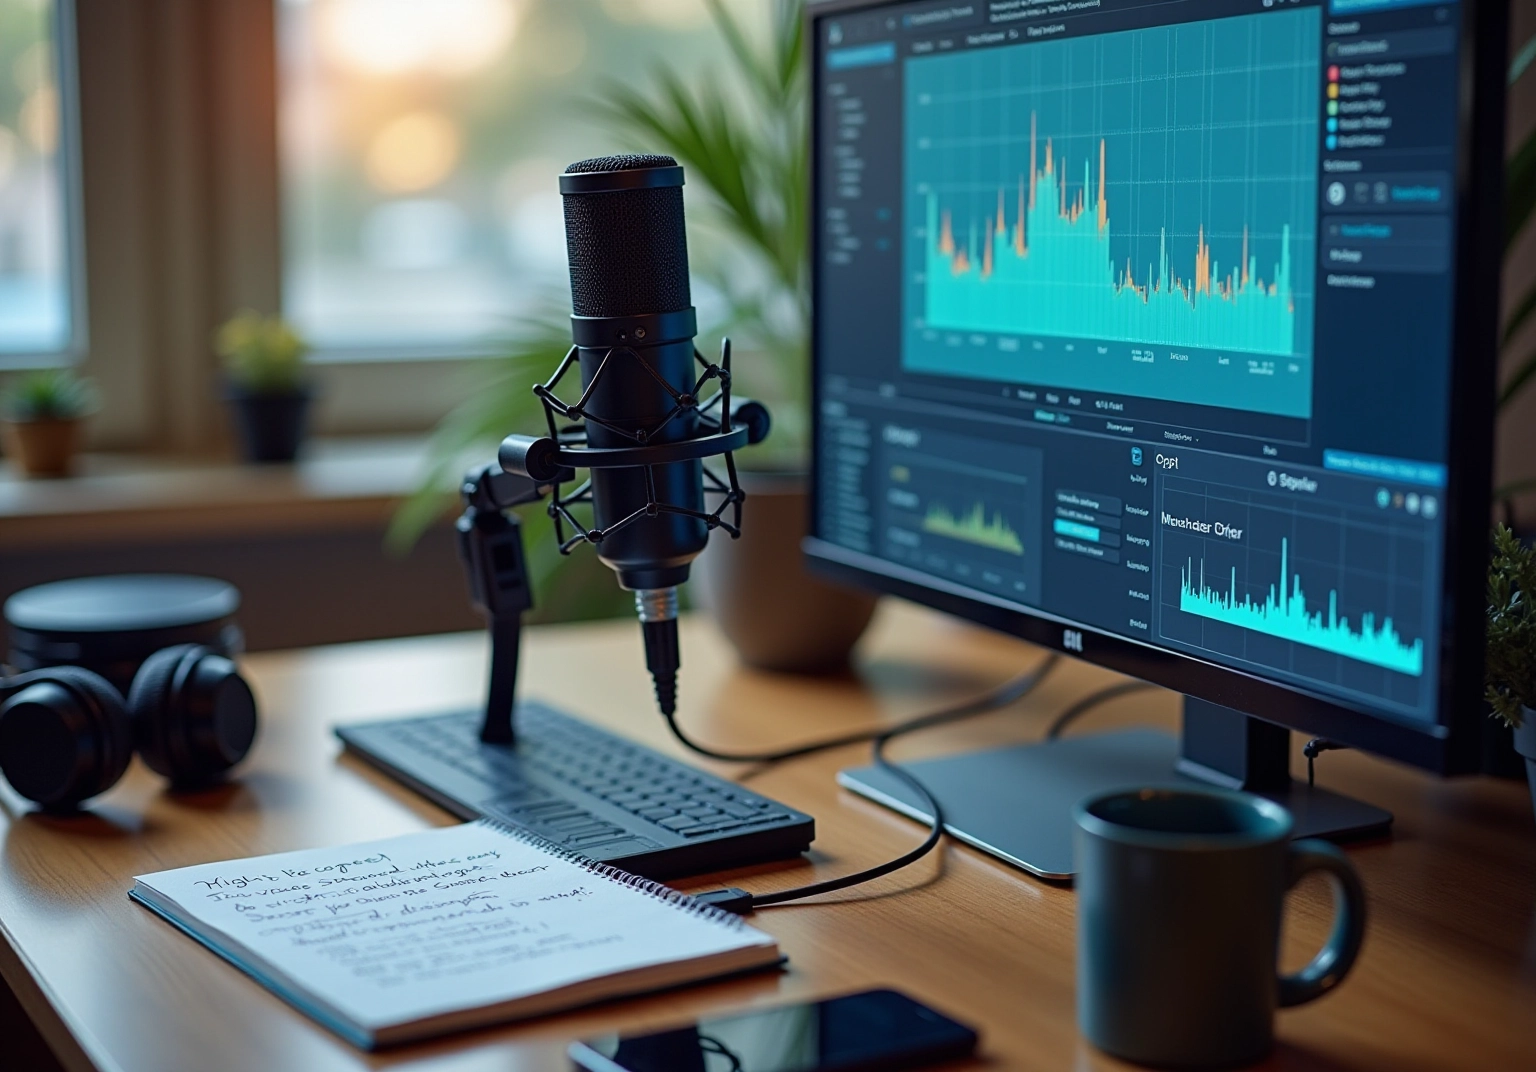
Capturing video footage is all about on your computer or mobile device screen. You might be wondering, what’s the big deal? Well, it can include audio narration, making it a fantastic tool for , presentations, and demonstrations. It's essential to get familiar with the different display capturing applications out there, such as like OBS Studio, Camtasia, and even built-in options like the Xbox Game Bar on Windows. Plus, knowing some basic terms, like frame rate, resolution, and file formats, can really help you make informed choices during the capturing process.
Now, let’s dive into some exciting news: the is set to grow significantly, reaching around $10.92 billion by 2025! This growth is driven by the increasing demand for online education and digital content creation. As more companies embrace remote work and virtual collaboration, it’s clear that the need for effective is on the rise.
When it comes to practical uses, in . Think about it—businesses use display capturing to create that make onboarding a breeze and help staff retain information better. By leveraging these tools, organizations ensure their teams have access to clear, concise information without the hassle of lengthy meetings. So, why not explore how these tools can transform your own documentation challenges?
Set Up Your Screen Recorder
- Choose Your Software: You might be wondering is the right tool for you. If you're an , OBS Studio is a robust choice. On the other hand, if you're looking for something more user-friendly, Loom is perfect for quick recordings, especially if you’re not super tech-savvy. It’s all about finding a tool that fits your needs, and are definitely a priority for developers catering to those with limited technical skills.
- Install : Once you've picked your , go ahead and download it from the official website or app store. Just follow the installation prompts carefully to ensure everything sets up smoothly.
- Configure Settings: Now, let’s dive into the settings. When you launch the software, take a moment to adjust the resolution to 1080p for that crisp output. Set the frame rate to 30 fps for standard recordings, and make sure to select the right audio input settings to guarantee clear sound. Did you know that 58% of viewers prefer mobile-friendly video formats? Plus, over 80% of all internet traffic was .
- Select Recording Area: Next, think about what you want to capture. Will it be your entire screen, a specific window, or maybe just a custom area? You’ll usually find the option for the right in the software’s main interface, giving you the flexibility you need.
- Test Your Setup: Before you hit record, . This will help you verify that everything’s working as it should, including audio levels and video quality. Trust me, thorough preparation can really boost viewer engagement and retention, making this step super important to avoid any hiccups during the actual session. Oh, and don’t forget about ! It’s a great way to securely store your files on your preferred platform. Lastly, keep in mind the importance of complying with privacy laws like GDPR, HIPAA, and COPPA when using screen capture software. It’s all about addressing potential concerns regarding data security and legal compliance.

Record Your Screen
- Prepare Your Content: You might be wondering how to kick things off smoothly. Make sure all the necessary applications or files are open and ready for demonstration. This little bit of prep work lays the groundwork for a seamless session.
- Close Unnecessary Applications: To keep distractions at bay and boost performance, it’s a good idea to close any applications that aren’t essential during the capture. This helps you maintain focus and clarity in your presentation.
- Start Capture: Ready to roll? Initiate the capture by clicking the 'Record' button or using a keyboard shortcut (like Windows + Alt + R for Xbox Game Bar). This action kicks off the recording of your activities on display. With , you can easily weave your screen captures from the into , making it simple to instantly.
- Monitor Your Capture: Keep an eye on the capture interface to ensure everything’s running smoothly. If anything goes awry, don’t hesitate to pause the capture and address it before moving on—this way, you ensure a high-quality output. 's makes quick adjustments easy, helping your documentation stay relevant and effective.
- Stop Capture: Once you’ve gathered all the essential content, it’s time to stop the capture using the software's interface or the designated keyboard shortcut. This final step wraps up your session and gets your content ready for editing or sharing. With , you can instantly update your documentation, ensuring that are always up-to-date and accessible.
Now, let’s talk about why integrating and onboarding procedures can really boost efficiency. Customized tutorials produced using a have proven to be highly effective in communicating complex information, allowing new hires to learn at their own pace. For instance, companies like Hootsuite effectively utilize a for feature demos, enhancing customer understanding and satisfaction while cutting down on traditional support methods. Plus, statistics show that 96% of people have watched an to learn more about a product or service, which really highlights the power of visual content in training settings.

Edit and Export Your Recording
- Open Your : So, you’re ready to dive into editing! Start by picking a film editing program that suits your style—maybe Camtasia, which has a solid user rating of 4.3/5.0, or go for Adobe Premiere Pro. If you prefer something simpler, built-in options like Windows Movie Editor can do the trick. These tools pack a punch with features that cater to all your .
- Import Your Recording: Next up, load your into the you chose. This step is super important because it lays the groundwork for all the fun editing you’re about to do.
- : Now, let’s get to the good stuff—trimming and cutting! Focus on snipping out those long pauses or little mishaps. Not only does this keep your content tight, but it also boosts . Just a heads up, you might want to set aside about 30 to 60 minutes for every minute of content you edit, depending on how complex your changes are. As Alex Lefkowitz, Founder and CEO of Tasty Edits, puts it, is all about evolving the cut, so take your time refining your masterpiece.
- Add : Ready to jazz things up? Enhance your recording with text overlays, transitions, or effects that really highlight your key points. Annotations can work wonders for viewer comprehension and retention, making your content pop! For example, using arrows or highlights can really draw attention to the important bits in your recording.
- : Finally, once you’re happy with your edits, it’s time to in the format you want—MP4 is the go-to choice for most folks. Make sure to pick settings that strike a balance between quality and file size based on how you plan to use your content. Keep in mind, the can really vary; for instance, a 20-minute video might take you anywhere from 10 to 20 hours to edit thoroughly, depending on how polished you want it to be. And remember, if you’re working with a lot of raw footage, your can skyrocket due to the careful review and refinement needed.

Troubleshoot Common Recording Issues
- Check Permissions: You might be wondering if your capturing application has the right permissions to access your display and audio. This step is super important! Many operating systems require explicit permission for apps to use a to capture screen content, so don’t skip this one.
- Refresh Programs: Keeping your audio applications and operating system refreshed is key to avoiding compatibility hiccups. Did you know that app updates come out all the time? Many tools refresh every few weeks to boost . By the way, the worldwide software market was valued at USD 1.2 Billion in 2023 and is projected to hit USD 6.25 Billion by 2032. That really shows how essential these tools are becoming in the business world!
- Free Up Resources: Want to enhance performance? Close any unnecessary applications running in the background. This little action can free up CPU and memory resources, which can significantly improve the quality of your .
- Test : If you’re not hearing any audio being recorded, let’s check your microphone settings. Make sure your microphone is selected as the input device and that the are set just right. This can fix a lot of common audio issues. Remember what Michael Bolton said, "A tester’s job is to ask the questions that the user would ask, not the ones the developer expects." It’s all about user-centric troubleshooting!
- : If you’re still having trouble after trying these steps, a good old restart of your computer can often clear up unexpected issues. This simple action can rejuvenate system resources and fix temporary glitches that might be affecting your .
Cautionary Note: Just a friendly reminder—be aware of when using a for . in these visuals can be misused, so always manage your recordings carefully to keep your confidential data safe.

Conclusion
Mastering the art of screen recording is super important in our visual-driven world. You might be wondering how understanding the basics and using screen monitor recorders can help you create content that really connects with viewers. This skill not only boosts the quality of your tutorials and presentations but also puts you in a great position to tap into the growing demand for digital content creation.
In this guide, we've highlighted key steps like:
- Picking the right software
- Tweaking settings
- Troubleshooting common hiccups
From preparing your content to the nitty-gritty of editing and exporting, each step plays a role in crafting high-quality visuals. And let’s not forget the significance of video in business and training—it can really streamline learning and help people remember information better.
So, embracing screen recording software opens up exciting new ways for effective communication and documentation. As technology keeps evolving, staying in the loop with best practices and troubleshooting tips will help you adapt and thrive in this ever-changing landscape. Why wait? Start mastering screen recording now to see impactful results—it's an essential skill for anyone wanting to boost their digital presence!
Frequently Asked Questions
What is screen recording and why is it important?
Screen recording involves capturing video footage of what you see on your computer or mobile device screen, often including audio narration. It is useful for creating tutorials, presentations, and demonstrations, making it a valuable tool for online education and digital content creation.
What are some popular screen recording software options?
Popular screen recording software includes OBS Studio, Camtasia, and built-in options like the Xbox Game Bar on Windows. For user-friendly options, Loom is recommended, especially for quick recordings.
What are some key terms to understand when using screen recording software?
Important terms to know include frame rate (frames per second), resolution (clarity of the video), and file formats (types of files the video can be saved as).
How is the display capture software industry expected to grow?
The display capture software industry is projected to grow significantly, reaching around $10.92 billion by 2025, driven by the increasing demand for online education and digital content creation.
How can businesses benefit from video capture?
Businesses can use video capture to create engaging training videos, aiding in onboarding and helping staff retain information better. This allows organizations to provide clear information without lengthy meetings.
How do I set up my screen recorder?
To set up your screen recorder, first choose the appropriate software based on your needs. Then, download and install it, configure the settings for resolution (1080p) and frame rate (30 fps), select the recording area, and conduct a test capture to ensure everything is working correctly.
What should I consider when configuring my screen recording settings?
When configuring settings, adjust the resolution to 1080p, set the frame rate to 30 fps, and select the appropriate audio input settings to ensure clear sound. It's also important to consider the preferred video format for viewers, as 58% prefer mobile-friendly formats.
Why is it important to test the setup before recording?
Testing the setup ensures that everything, including audio levels and video quality, is functioning correctly. This preparation can enhance viewer engagement and retention, helping to avoid issues during the actual recording.
What legal considerations should I keep in mind when using screen capture software?
It's important to comply with privacy laws like GDPR, HIPAA, and COPPA when using screen capture software to address potential concerns regarding data security and legal compliance.
List of Sources
- Understand Screen Recording Basics
- marketresearchintellect.com (https://marketresearchintellect.com/product/global-screen-recorder-software-market-size-and-forecast)
- Screen Recorder Market Size, Share, Trends, Analysis, Scope (https://verifiedmarketresearch.com/product/screen-recorder-market)
- verifiedmarketreports.com (https://verifiedmarketreports.com/product/screen-recording-software-market)
- Screen Capture Software Market Report 2026, Size, Share, Trends (https://thebusinessresearchcompany.com/report/screen-capture-software-global-market-report)
- Set Up Your Screen Recorder
- verifiedmarketreports.com (https://verifiedmarketreports.com/product/screen-recording-software-market)
- atlassian.com (https://atlassian.com/blog/loom/how-to-do-a-screen-recording)
- 2023 Screen-Recording Software Market Growth Trends (https://unfoldlabs.medium.com/2023-screen-recording-software-market-growth-trends-105ddf9002ee)
- movavi.com (https://movavi.com/support/how-to/how-to-record-screen-with-obs.html)
- Record Your Screen
- prohance.net (https://prohance.net/blog/the-benefits-of-screen-recording-for-businesses-and-organizations)
- vimeo.com (https://vimeo.com/blog/post/screen-recording-marketing)
- 2023 Screen-Recording Software Market Growth Trends (https://unfoldlabs.medium.com/2023-screen-recording-software-market-growth-trends-105ddf9002ee)
- marketresearchintellect.com (https://marketresearchintellect.com/product/global-screen-recording-software-market-size-and-forecast)
- Edit and Export Your Recording
- tastyedits.com (https://tastyedits.com/how-long-does-it-take-to-edit-a-video)
- filmora.wondershare.com (https://filmora.wondershare.com/screen-recorder/screen-recording-tips.html)
- Video Editing Software Market Statistics (2026) (https://sendshort.ai/statistics/video-editing-software)
- An Art of the Cut Essay - no interview but lots of quotes by Steve Hullfish - ProVideo Coalition (https://provideocoalition.com/an-art-of-the-cut-essay-no-interview-but-lots-of-quotes)
- recorder.itopvpn.com (https://recorder.itopvpn.com/blog/how-to-edit-a-screen-recording-2145)
- Troubleshoot Common Recording Issues
- 50 Inspirational Quotes About Software Testing - QA Madness (https://qamadness.com/inspirational-quotes-about-software-testing)
- Screen Recording Software Market Report | Global Forecast From 2025 To 2033 (https://dataintelo.com/report/global-screen-recording-software-market)
- Screen Recorder Market Size, Share, Trends, Analysis, Scope (https://verifiedmarketresearch.com/product/screen-recorder-market)
- 2023 Screen-Recording Software Market Growth Trends (https://unfoldlabs.medium.com/2023-screen-recording-software-market-growth-trends-105ddf9002ee)
👍
What others are liking


5 Steps to outline your ideal documentation structure
5 MINS READ
Where to start the your journey of mapping out your ideal documentation structure, aligning it with the very heartbeat of your organization?
Defining a winning level of detail in your process
3 MINS READ
What is too much detail, and what is too little? This article described in that winning level detail about what detail is enough.


