
Key Highlights
- Choose a reliable screen recorder extension from options like Screencastify, Loom, or Screen Recorder for Google.
- Instal the chosen add-on by clicking 'Add to the browser' and follow the prompts.
- Configure settings for video quality and audio input, granting necessary permissions for microphone and camera.
- Conduct a test recording to ensure audio and video are functioning correctly before the actual recording.
- Open the desired tab or application, then initiate the recorder by selecting the capture area.
- Start recording by clicking 'Start Capture' and select audio sources for voiceovers or system sounds.
- Perform actions clearly during recording, as visual content significantly enhances retention.
- Stop recording to automatically save audio and video to the selected location.
- Organise recordings by creating dedicated folders for easy access and management.
- Edit videos by trimming, adding annotations, and ensuring clarity before exporting.
- Share recordings on platforms like YouTube or Google Drive, ensuring accessibility for team members.
Introduction
Have you ever thought about how mastering the art of video recording on Chrome could really change the way you and your team communicate and share knowledge?
With the right tools and techniques, anyone can whip up engaging tutorials, presentations, or documentation that really resonate with viewers.
But let's be honest—many of us feel a bit lost when it comes to setting things up and actually recording. It can be overwhelming with all the options out there!
What if I told you there’s a simple, step-by-step guide to help you navigate this process and unlock the full potential of a Chrome video recorder?
Prepare Your Chrome Video Recorder: Tools and Setup
Are you ready to dive into the world of using a ? Let’s get started with some simple steps:
- Choose a : First things first, you’ll want to pick a reliable from the Web Store. You might be wondering which to choose—some popular options are Screencastify, Loom, and Screen Recorder for Google. The is a great tool because it can capture audio and video at the same time, which really boosts the quality of your recordings.
- Install the Add-on: Once you’ve made your choice, just click on the add-on and hit 'Add to the browser'. Follow the prompts to finish the installation. After that, you’ll see the add-on icon pop up in your Chrome toolbar, all set for action!
- Configure Settings: Go ahead and click on that icon to dive into its settings. Here, you can tweak things like video quality and audio input—whether you want to use your microphone or capture system audio. Don’t forget to grant the necessary permissions for the extension to access your microphone and camera; this is key for capturing everything effectively.
- Test Your Setup: Before you jump into your actual recording, it’s a good idea to do a quick test. Open a new tab, use the to start, and grab a short clip. Check the footage to make sure both audio and video are working smoothly. If something seems off, adjust your settings based on what you find to make sure your recording experience is top-notch.
And hey, while you’re at it, consider using for some instant documentation! With just a few clicks, you can document your first process right from your browser and save it in your team’s workspace. This means you’ll have immediate access to all the right documents, which really helps with , onboarding, and —ultimately boosting your .
As industry specialist Alma Elliott puts it, ", walk-throughs, demos, and more," highlighting just how valuable these tools can be for effective documentation.

Record Your Video: Step-by-Step Instructions
To effectively using the , let’s walk through these easy steps together:
- Open the Tab or Application: First things first, navigate to the specific tab or application you want to record. Make sure all the content you need is visible and ready to go. You might be wondering why this matters—having everything set up helps you stay focused during the recording!
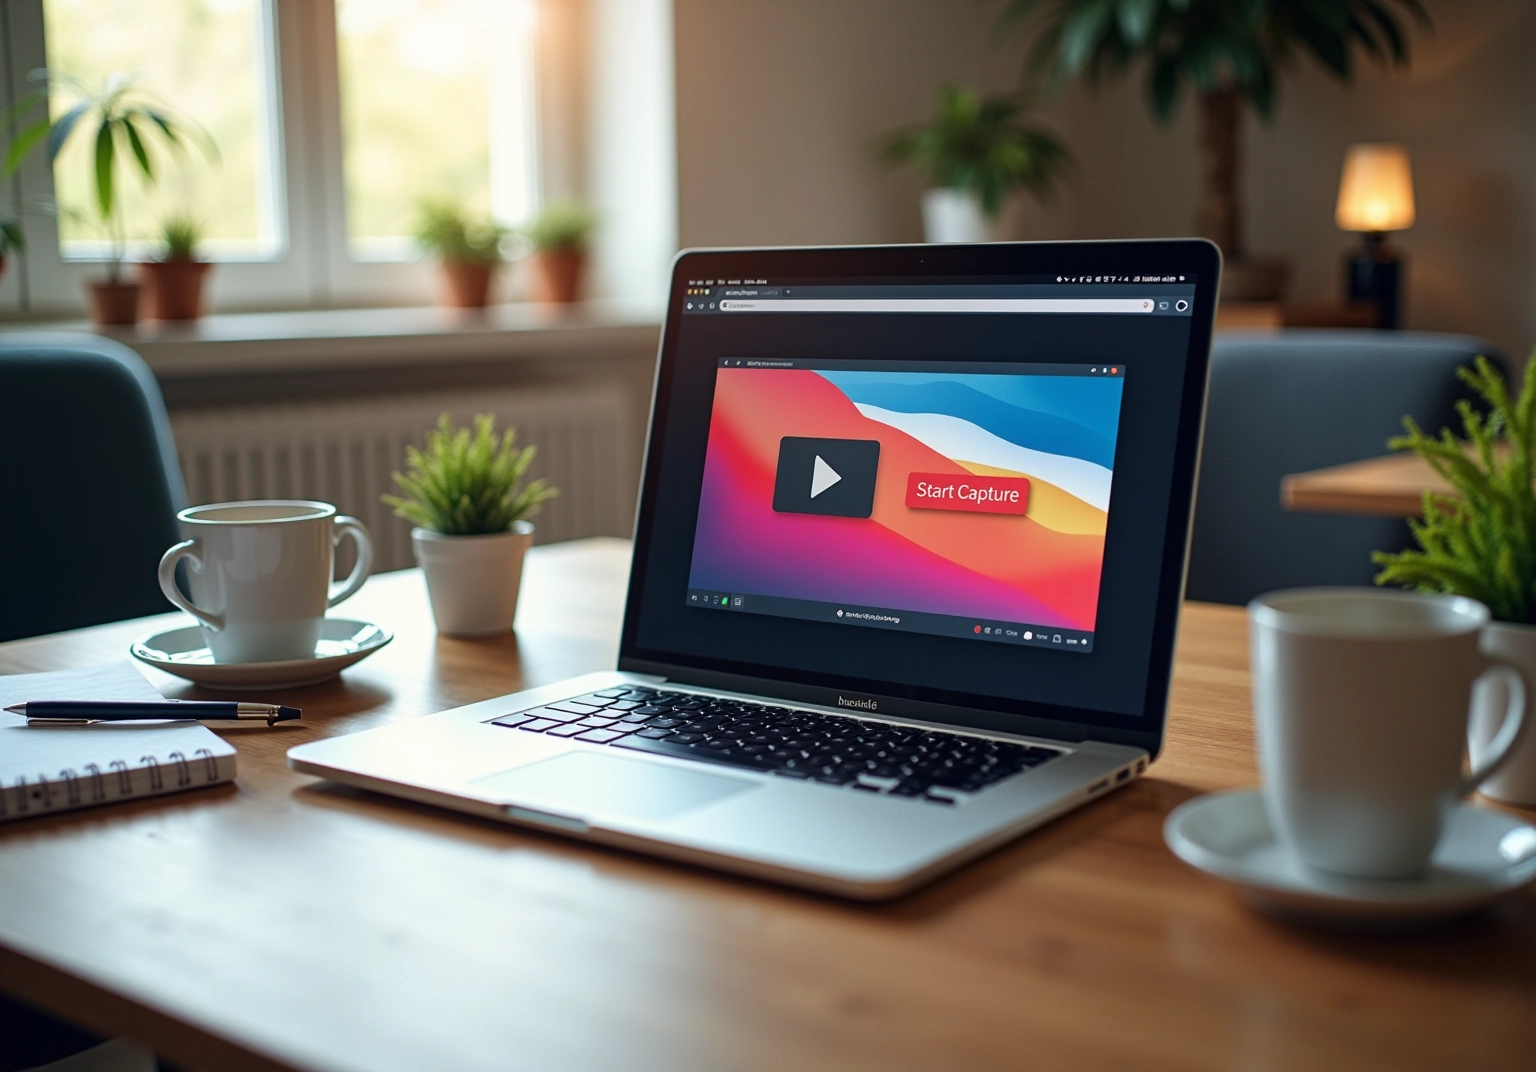
- Initiate the : Now, click on that extension icon in your browser's toolbar to pull up the capturing interface. Choose the that works best for you—whether it's the full screen, a specific window, or just the Chrome tab. Speaking of options, it’s great to have flexibility, right?
- Start Recording: Hit the 'Start Capture' button. If you see a prompt, select the audio sources you want to include, like your microphone for voiceovers or system audio for sounds from the tab. This is where you can really make your video come alive!
- Perform Your Actions: Now it’s time to show what you’ve got! Execute the actions you want to record. If you’re providing commentary, speak clearly, and make those mouse movements count. Did you know that viewers remember 95% of compared to just 10% of text? So, clarity is key here!
- Stop Recording: Once you’ve wrapped up your demonstration, click the 'Stop Capture' button. Your audio will save automatically to your chosen location, usually your computer or Google Drive, depending on your settings. Easy peasy!
Looking ahead, in 2025, the typical duration for filming tutorials is expected to be around 30 minutes. This really highlights how crucial are. By following these steps, you can create with a that not only enhance knowledge retention but also keep your team engaged. So, what are you waiting for? Let’s get recording!

Manage Your Recordings: Saving, Editing, and Sharing
After recording your video with the , you might be wondering using . Here’s a friendly guide to help you out:
- Save Your Audio: First things first, make sure your audio is saved in a spot that’s easy to find later. Most extensions will prompt you to choose a save location, so why not create a dedicated folder for your files? This little trick can keep things organized and accessible. Plus, with SowFlow, you can document this process, ensuring your team knows exactly where and how to save recordings.
- Edit Your Video: Now, let’s dive into editing! Utilize the features in your to trim away any unnecessary bits, add annotations, or overlay text for clarity. SowFlow can help you create that share using the , making the whole process smoother and more efficient.
- Export Your Clip: After you’ve polished your video, it’s time to , like MP4. Just make sure the resolution and quality settings match your intended use—this can really impact how effectively you communicate. With SowFlow, you can with the latest export settings and recommendations, so your team is always in the loop.
- Share Your Recording: Finally, to share your masterpiece recorded with the chrome video recorder, upload it to platforms like YouTube, Google Drive, or even your company’s internal documentation system. When you’re sharing clips, adding a description and relevant tags can really boost discoverability. And for internal sharing, double-check that everyone who needs access can view the recording—this helps foster better knowledge exchange and collaboration. , ensuring your team can collaborate seamlessly.

Conclusion
Mastering the Chrome video recorder opens up a world of possibilities for creating high-quality tutorials, presentations, and documentation. You might be wondering how to get started, right? By following the structured approach outlined in this guide, you can efficiently set up your recording tools, execute seamless recordings, and manage your video content with ease.
This article walks you through essential steps, from selecting the right screen recorder extension to navigating the recording process and effectively managing the resulting files. Key insights include:
- The importance of testing your setup
- The flexibility in capturing different screen areas
- The value of editing and sharing recordings to enhance communication and knowledge sharing within teams
Sounds useful, doesn’t it?
Ultimately, embracing these techniques not only boosts the quality of your video content but also fosters collaboration and efficiency in any workspace. With the right tools and practices, anyone can become proficient in using a Chrome video recorder. It’s an essential skill in today’s digital landscape! So, why not start implementing these strategies today? Elevate your video recording capabilities and contribute to a more informed and connected team environment.
Frequently Asked Questions
What is the first step to using a Chrome video recorder?
The first step is to choose a reliable screen recorder extension from the Chrome Web Store, with popular options including Screencastify, Loom, and Screen Recorder for Google.
How do I install a Chrome video recorder extension?
After selecting an extension, click on it and hit 'Add to the browser', then follow the prompts to complete the installation. The add-on icon will appear in your Chrome toolbar once installed.
What settings can I configure in the Chrome video recorder?
You can configure settings such as video quality and audio input, including options to use your microphone or capture system audio. It's also important to grant the necessary permissions for the extension to access your microphone and camera.
Why is it important to test my setup before recording?
Testing your setup ensures that both audio and video are working smoothly. You can do this by recording a short clip and checking the footage. If there are any issues, you can adjust your settings accordingly.
What additional tool does the article suggest for documentation?
The article suggests using SowFlow's browser extension for instant documentation, which allows you to document processes easily and save them in your team’s workspace for better efficiency and knowledge sharing.
What are the benefits of using a screen recorder according to industry specialist Alma Elliott?
According to Alma Elliott, screencasting is helpful for creating online tutorials, walk-throughs, demos, and more, making these tools valuable for effective documentation.
List of Sources
- Prepare Your Chrome Video Recorder: Tools and Setup
- movavi.com (https://movavi.com/learning-portal/best-screen-recorder-chrome-extensions.html)
- wowto.ai (https://wowto.ai/blog/Top-Chrome-Extensions-for-Screen-Recording)
- screendemos.com (https://screendemos.com/blog/record-chrome-browser)
- miloszkrasinski.com (https://miloszkrasinski.com/screencastify-review-recording-tool)
- democreator.wondershare.com (https://democreator.wondershare.com/screen-recorder/chrome-screen-capture.html)
- Record Your Video: Step-by-Step Instructions
- research.com (https://research.com/education/video-training-statistics)
- shopify.com (https://shopify.com/blog/video-marketing-statistics)
- 30 Vital Video Marketing Statistics You Need to Know in 2025 (https://thesocialshepherd.com/blog/video-marketing-statistics)
- wyzowl.com (https://wyzowl.com/video-marketing-statistics)
- 100+ Essential Video Marketing Statistics For 2025 (Updated) (https://herenow.film/trimtab/essential-video-marketing-statistics)
- Manage Your Recordings: Saving, Editing, and Sharing
- storyy.co (https://storyy.co/2025/02/25/optimizing-turnaround-rates-for-social-media-video-edits-industry-standards-and-strategic-workflows)
- ro-bust.co.za (https://ro-bust.co.za/how-long-does-it-take-to-edit-a-corporate-video)
- theclippingpathservice.com (https://theclippingpathservice.com/how-long-does-it-take-to-edit-a-video)
- nomadic.uk (https://nomadic.uk/blog/how-long-does-it-take-to-edit-a-video)
👍
What others are liking


5 Steps to outline your ideal documentation structure
5 MINS READ
Where to start the your journey of mapping out your ideal documentation structure, aligning it with the very heartbeat of your organization?
Defining a winning level of detail in your process
3 MINS READ
What is too much detail, and what is too little? This article described in that winning level detail about what detail is enough.


